Cleaning window tracks is often an overlooked part of home maintenance, but it plays a crucial role in keeping your windows functional and your home clean. Over time, dust, dirt, dead insects, and debris accumulate in the grooves, making windows harder to open and reducing their lifespan. Knowing how to clean window tracks properly can save you time, effort, and potential repair costs. This guide provides a detailed, step-by-step approach to making your window tracks spotless and ensuring your windows slide smoothly.
Why Cleaning Window Tracks Is Important
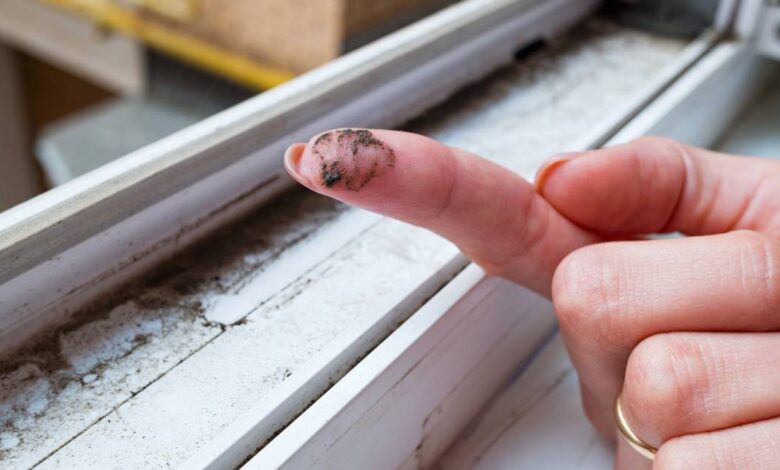
Window tracks are narrow grooves at the bottom and sides of your window frames. While they may seem insignificant, they act as collectors for dust, debris, and even moisture. If left unattended, this buildup can lead to mold growth, rust in metal tracks, or sticky residues in vinyl or plastic tracks. By learning how to clean window tracks effectively, you not only enhance the appearance of your home but also prevent damage to your windows and maintain good indoor air quality.
Materials You Will Need
Before starting the cleaning process, gather all necessary tools:
- A handheld vacuum cleaner with a crevice attachment
- An old toothbrush or a small soft-bristle brush
- Microfiber cloths or lint-free rags
- Cotton swabs for tight corners
- Mild dish soap or a natural cleaning solution such as vinegar and water
- Baking soda for stubborn dirt
- A small plastic scraper or a butter knife wrapped in cloth
- Silicone-based lubricant for smooth operation
Having the right materials on hand ensures that you can clean your window tracks thoroughly and efficiently.
Step-by-Step Guide on How to Clean Window Tracks
Step 1: Prepare the Area
Open your windows fully and remove any screens, blinds, or curtains. Place a towel or drop cloth on the floor to catch debris and prevent mess.
Step 2: Remove Loose Dirt and Debris
Use a handheld vacuum cleaner with a crevice attachment to remove loose dust, dirt, and dead insects. Make sure to vacuum every corner of the track to prepare it for a deep clean.
Step 3: Apply the Cleaning Solution
For mild dirt, use warm water mixed with a few drops of dish soap. For stubborn grime, sprinkle baking soda along the tracks and spray a mixture of vinegar and water. Let it sit for five to ten minutes so the solution can loosen dirt and grime.
Step 4: Scrub the Tracks
Use an old toothbrush or soft-bristle brush to scrub the tracks thoroughly. Pay attention to corners and grooves where dirt tends to accumulate. For narrow or difficult-to-reach areas, use cotton swabs or a cloth-wrapped scraper.
Step 5: Wipe and Rinse
Use a damp microfiber cloth to wipe away loosened dirt and cleaning solution. Rinse the cloth frequently to avoid smearing dirt back onto the tracks. Ensure that all residue is removed to prevent sticky buildup.
Step 6: Dry Completely
Use a dry microfiber cloth to remove all moisture. Moisture left in the tracks can cause mold or attract new dirt, so thorough drying is essential.
Step 7: Lubricate the Tracks
Apply a small amount of silicone-based lubricant to metal, vinyl, or plastic tracks. This step ensures that your windows slide smoothly and helps prevent dirt from sticking in the future.
DIY Tips for Effective Cleaning
- For very tight tracks, a sponge cut to the track’s width can help scrub areas quickly.
- Regular maintenance, such as monthly vacuuming or wiping, prevents heavy buildup and saves time.
- Avoid harsh chemicals or steel wool, as they can damage metal or plastic tracks.
- Using a natural vinegar-and-baking soda mixture is effective and environmentally friendly.
- Always work gently to prevent scratches or damage to your window frames.
How Often Should You Clean Window Tracks?
For optimal performance, deep clean window tracks every two to three months. Homes in dusty environments or areas with high humidity may require more frequent cleaning. Quick monthly maintenance, such as light vacuuming or wiping with a damp cloth, helps keep tracks free of debris and ensures smooth window operation.
Common Mistakes to Avoid
- Skipping the vacuum step and wet-cleaning first can turn dust into mud, making cleaning harder.
- Using abrasive tools or chemicals may scratch or damage your tracks.
- Leaving tracks damp after cleaning can lead to mold or corrosion.
- Neglecting side channels or vertical tracks can affect sliding window performance.
- Forgetting to lubricate after cleaning may result in sticky or difficult-to-open windows.
Conclusion
Learning how to clean window tracks is a simple yet essential home maintenance task. By following these steps and using the right tools, you can ensure your windows remain clean, functional, and durable. Regular cleaning not only improves the appearance of your home but also protects your investment in your windows, keeping them operating smoothly for years to come. Taking the time to clean window tracks properly reduces potential damage, improves indoor air quality, and makes your living spaces healthier and more comfortable.
FAQs
1. How often should I clean window tracks?
It is recommended to deep clean window tracks every two to three months, with light maintenance monthly.
2. Can I use vinegar to clean window tracks?
Yes, a vinegar-and-water mixture works well for loosening dirt and grime in window tracks.
3. Do I need to lubricate window tracks?
Applying silicone-based lubricant after cleaning ensures windows slide smoothly and prevents future dirt buildup.
4. What tools are best for cleaning tight corners?
Cotton swabs, toothbrushes, and cloth-wrapped scrapers work well for hard-to-reach areas in window tracks.
5. Is it necessary to dry window tracks after cleaning?
Yes, drying prevents mold, mildew, and corrosion, especially in metal or vinyl tracks.